We are excited to share the instructions for our Bracelets’ Friend Clips! We love them and we hope that you will love them too!
Materials needed (for each clip)
- A small clip (we used 12mm clips)
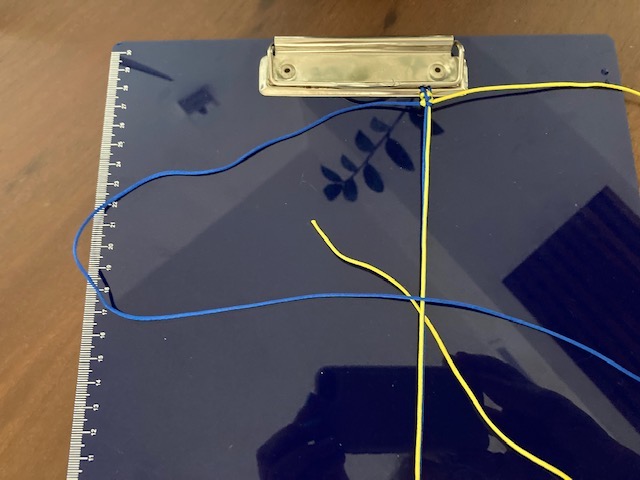
- 18 cm of thin cords in 2 colours
- A 12mm wooden bead
- 18 cm of thin cords in 2 colours
- A permanent very fine black pen
- A lighter/candle/match
1 With a permanent pen, draw a face on the wooden bead.
2 Take one of the colour cords.
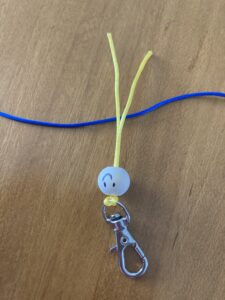
3 Fold the cord in half and loop it through the circle at the bottom of the clip. Pull the ends through so that it attaches to the loop.

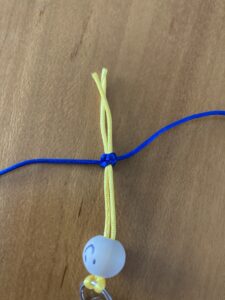
4 Pull both bits of this cord through the wooden bead.
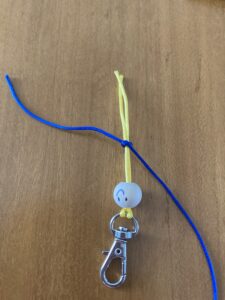
5 Turn the clip and cord upside down, so that the ends of this cord are furthest away from you.
6 Fold the other cord in half, place it underneath the middle of the vertical cords and tie it around both pieces.
7 Using the friendship twine technique, make 6 ties round the vertical cords. *Remember, you lay one bit of cord horizontally across the vertical cords to make a triangle and bring the other bit of the cord under the vertical cords and through the triangle.
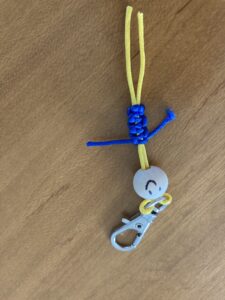
8 Cut the ends of the horizontal cord to the right length to make the arms.
7 Make a small knot at the end of both of the vertical cords at the right length to make the feet. (You can add small beads before you make these knots if you wish).

8 Using a lighter or candle, burn the ends of the arms and the legs to seal them.
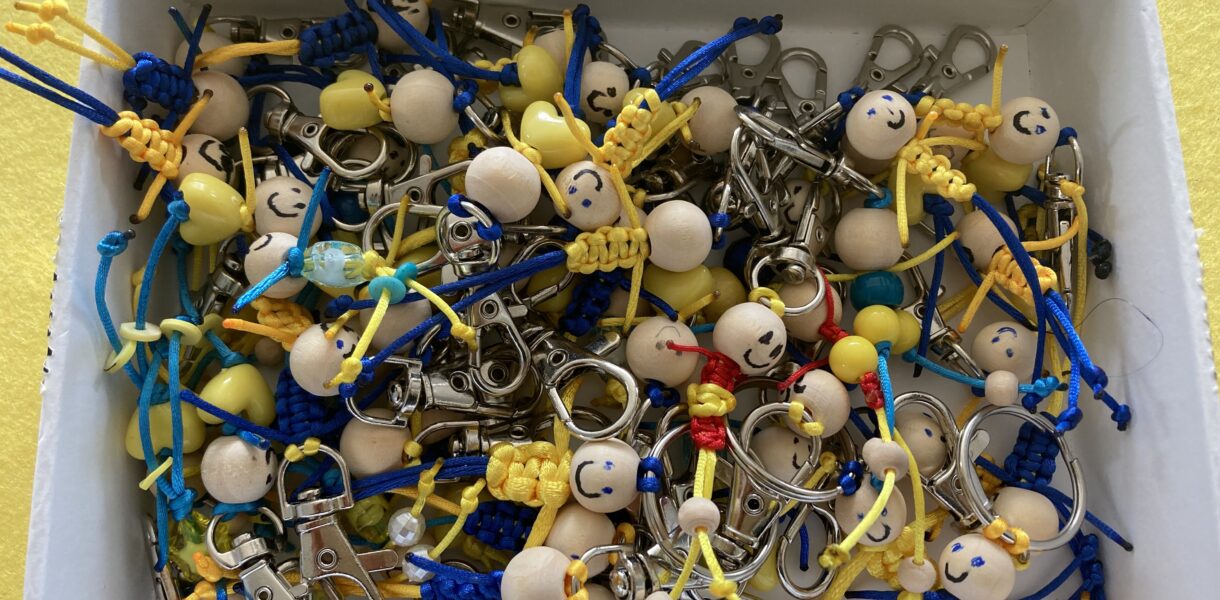
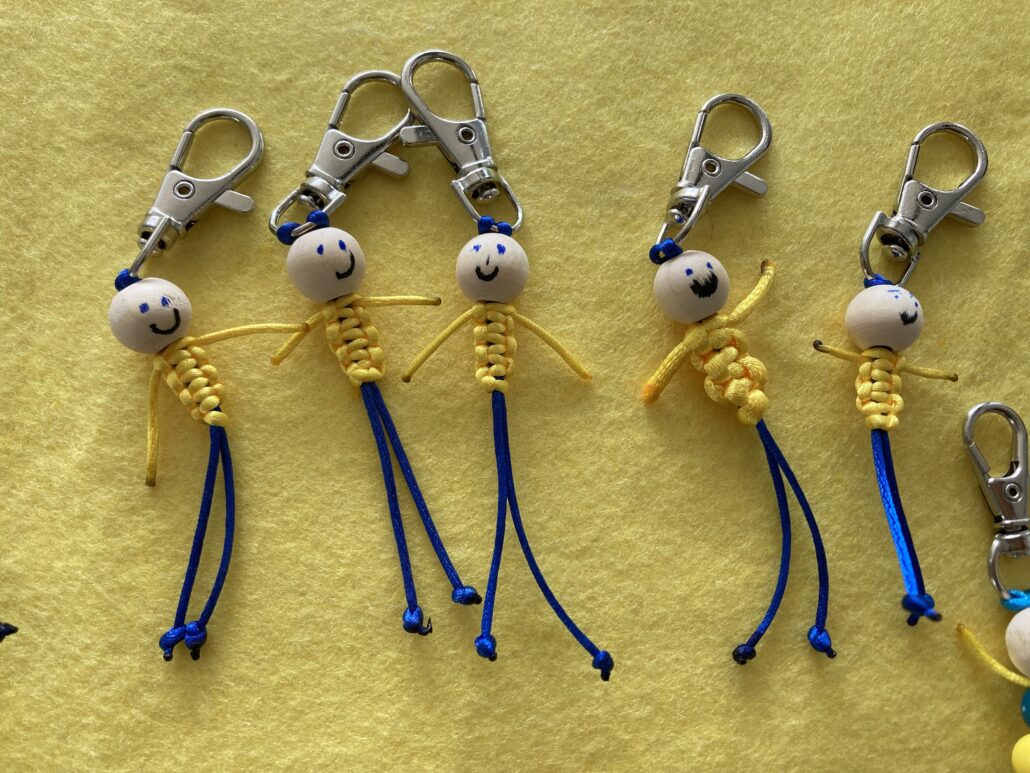
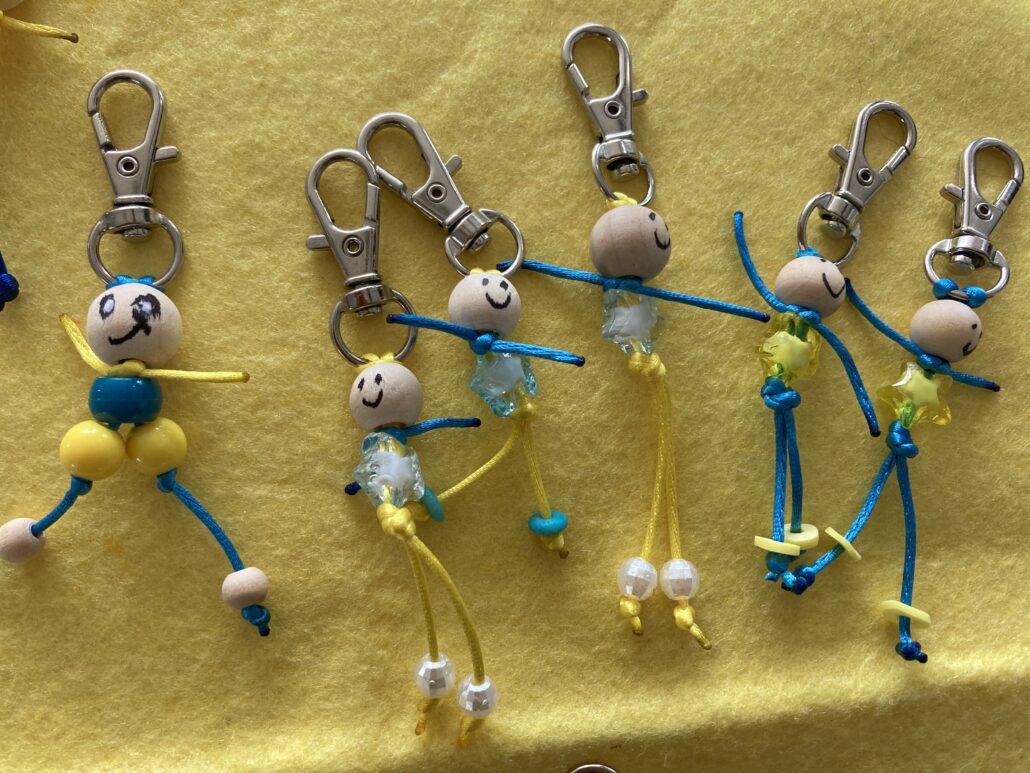
As you can see from the photos, you can add bigger beads to the middle for the body. The yellow heart beads make great skirts!
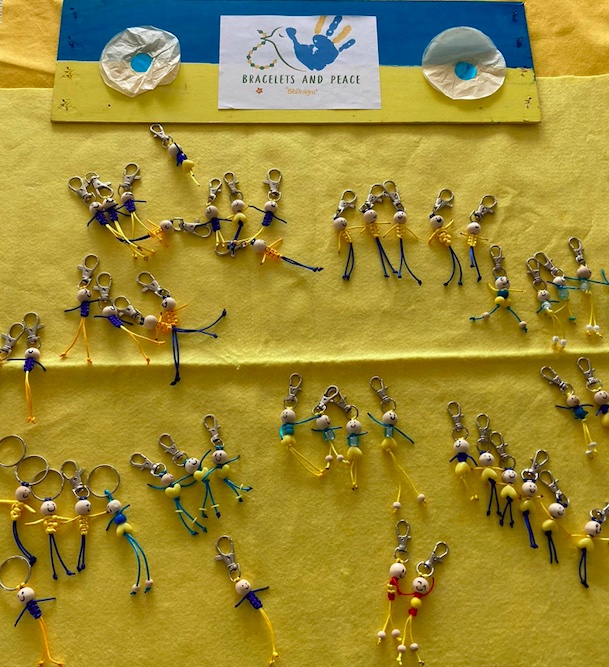
We hope you’ll enjoy making these Friend Clips as much as we do! They really do become friends and every friend is different, just like we humans are different!!


