In our video on YouTube, Ana, from Yes Institute in Portugal, shows us very clearly how to make one of the most popular bracelets – the Friendship Twine Bracelet.
We’ve also included some photos below to show the steps to making these bracelets. *Note that the start and end of the Friendship Twine Bracelet in the photos below is different from Anna’s bracelet in the video, as are the materials she uses. Both work perfectly!
The materials needed for this bracelet are:
- 120 -145 cm (for smaller or larger wrists)of cord in 2 colours
- *optional: a clipboard/folder (or a heavy book)
- *optional: a large paper clip/document clip
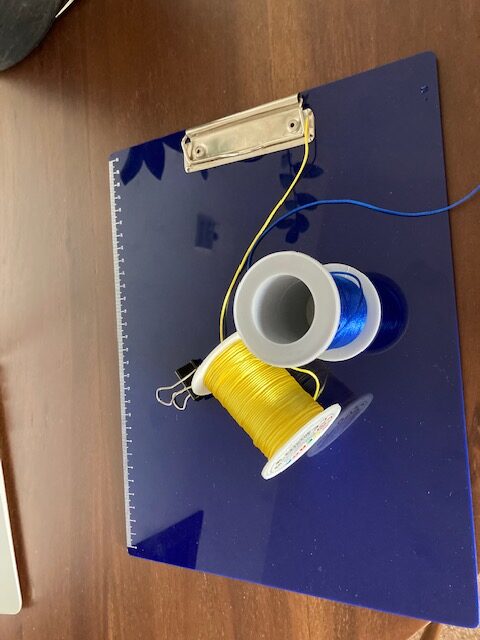
- Cut your cord to the right length (120-145 cm).
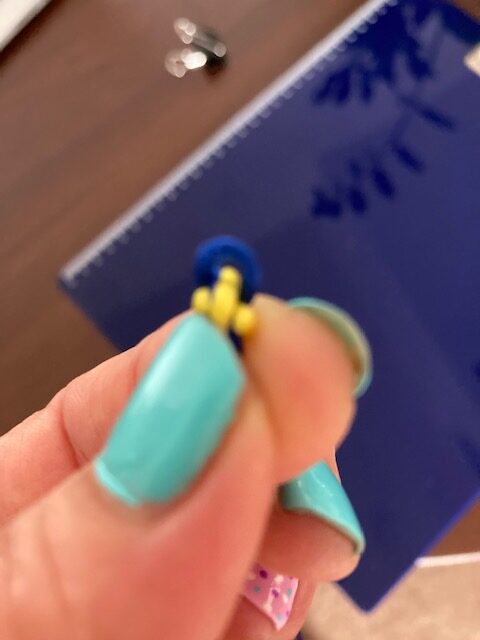
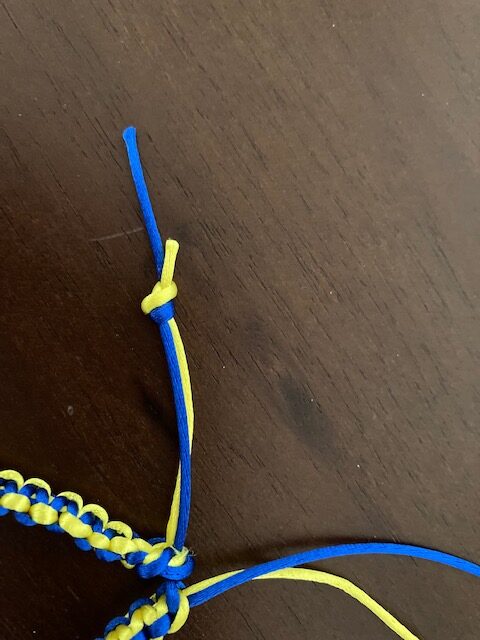
- Fold both cords over at approximately 30 cm from one end. (0’37”)
- Bend each cord at this point and make a knot by twisting one loop around another. Pull the longer cords down through the loop and make a knot.
- Leave a very small loop in one colour.
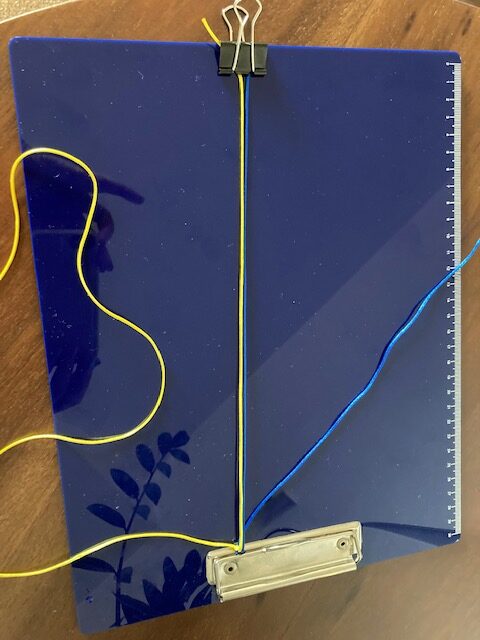
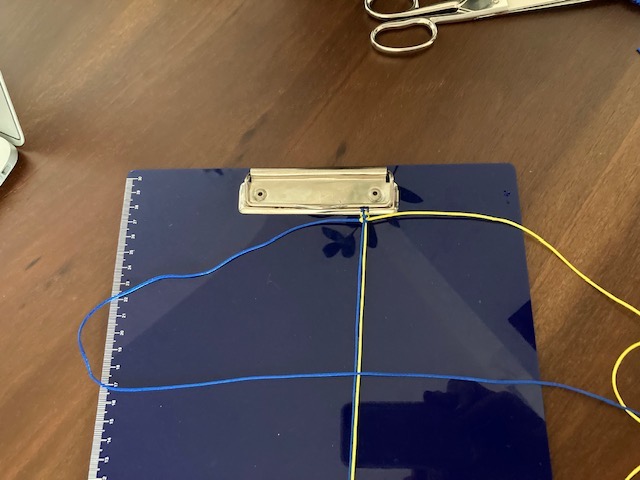
- Secure the loop onto top of the clipboard (or place it under a heavy book). (1’10”)
- Tie the two shorter ends of the two cords to the bottom of the clipboard using a large paper or document clip (or under the bottom of your heavy book). (1’48” – 1’59”)
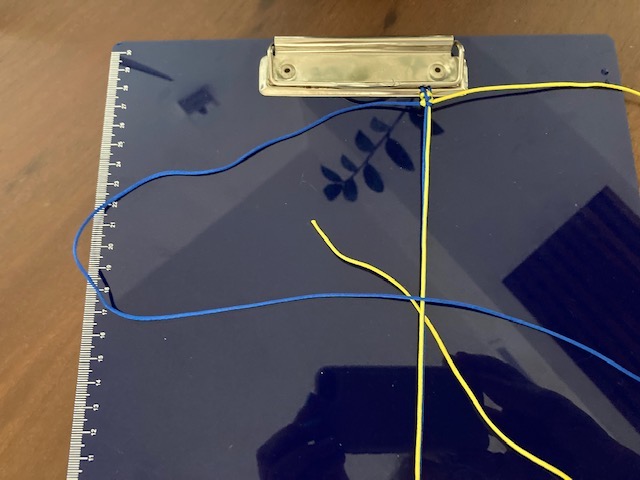
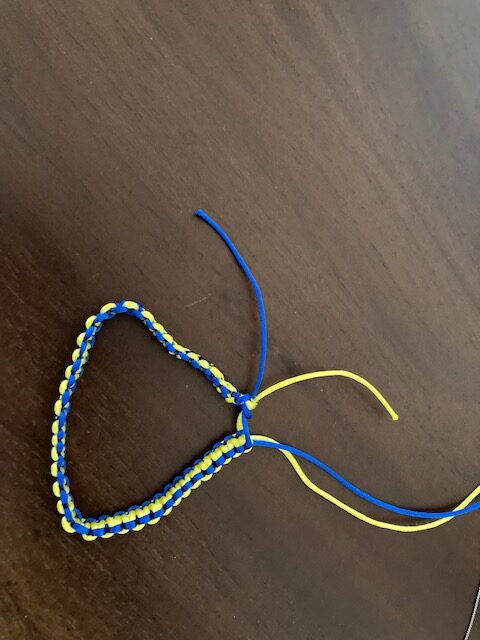
- Make a large triangle with the longer blue cord and place the cord horizontally across the two shorter cords. (2’04”)
- Take the second longer yellow cord* and pull it under the shorter cords, then under and through the loop in the longer blue cord. *The yellow cord will always be your lead cord.
- Pull both longer yellow and blue cords tight, till they form a single knot round the top. (2’10”)
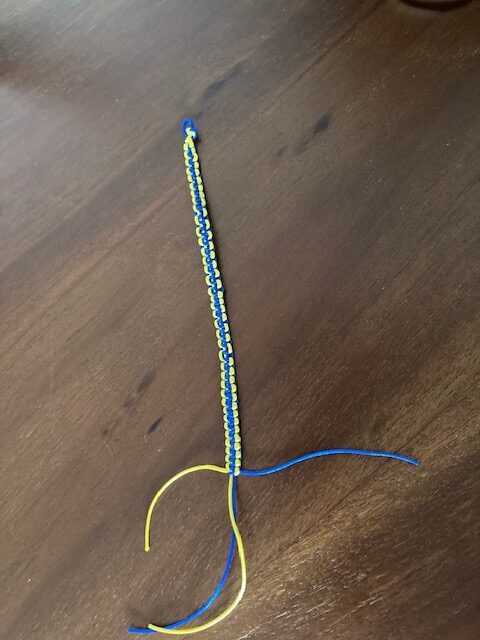
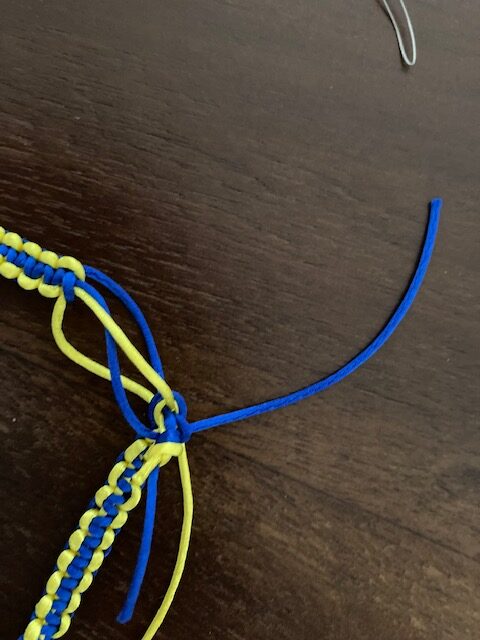
- Make a triangle again with the longer blue cord. Pass the long yellow cord under the shorter cords and through the blue loop. (2’16”)
- Continue like this till you have the desired length. (2’37”)
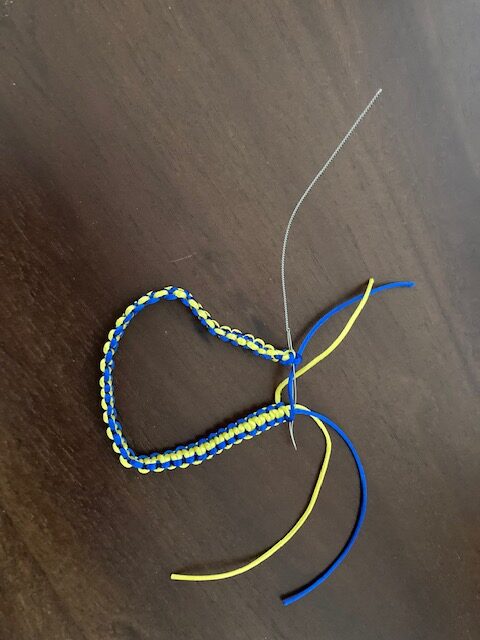
To finish off the bracelet in a way that you can take it off and put it on when you want:
- Pull two of the ends of the cords in one direction through the loop and make a small knot at the length where you can comfortably pull it over your hand.
- Pull the other two cords in the other direction through the loop and make a knot so that the bracelet opens at the same size.
- Cut the ends of the cords very close to the knots and burn the ends with a lighter so that they don’t move.
- Wear your bracelet with pride – or give it to a friend!

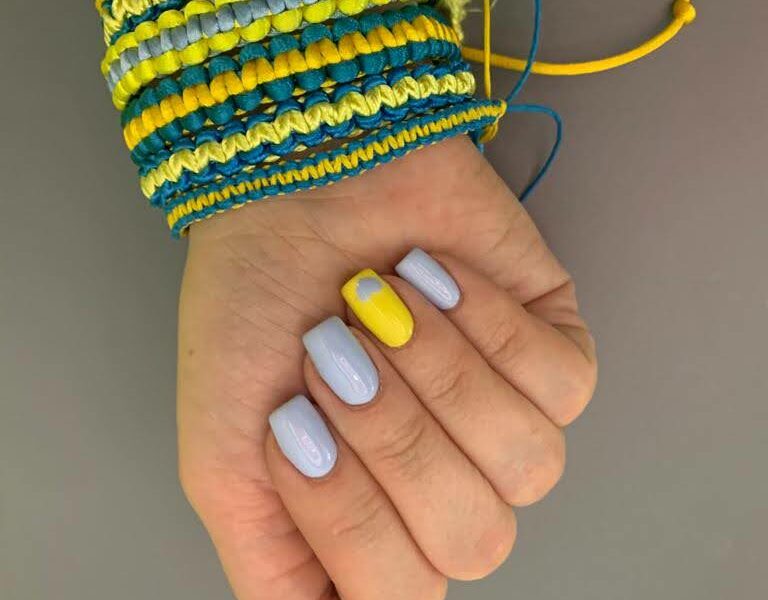
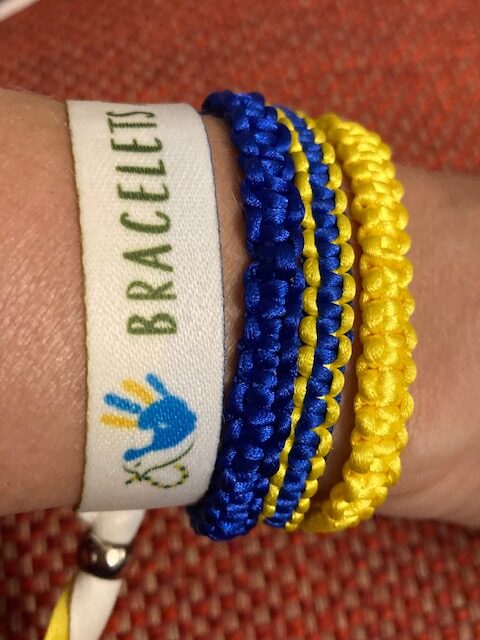
As you can see, Anna Duchenko, from Vinnystia Primary School for Humanities, and founder member of Bracelets and Peace, loves this particular design! She has a real collection, which shows how this design works well with different materials and thicknesses.

And Elsa Canario, another of our founding members, has friendship twine bracelets in two-tones and monotones!
So, now you know how to make a Friendship Twine Bracelet, what are you waiting for? Let’s get making, twining, creating!


[…] We have a video tutorial for this bracelet, as well as the written instructions in English. […]
[…] On Tuesday and Thursday mornings, Dasha, Sofia and Anne headed to the school, carrying materials to make Friendship Twine Bracelets. […]
[…] Calculations based on making a Friendship Twine Bracelet as shown in our step by step images. Ana’s version of this bracelet uses more cords of shorter […]
[…] brought 2 euros to pay for their bracelet materials and went home wearing one! We chose to make the Friendship Twine Bracelet. See our tutorial to learn to make […]
[…] Using the friendship twine technique, make 6 ties round the vertical cords. *Remember, you lay one bit of cord horizontally […]