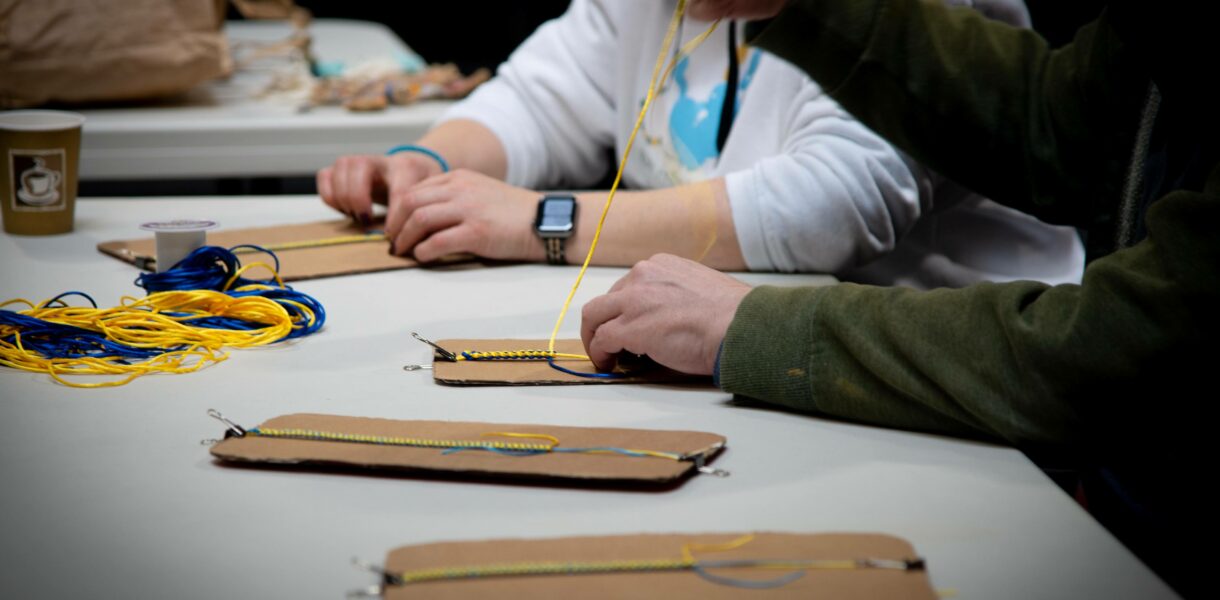
You can make bracelets by attaching it to a table with sellotape, putting it under a heavy book or tying it to a handle, but the easiest way in our opinion is definitely by using a clipboard!
You can obviously buy a clipboard, but if you’re having a large bracelet making session, it’s much cheaper (and just as practical) to make your own!
What you need
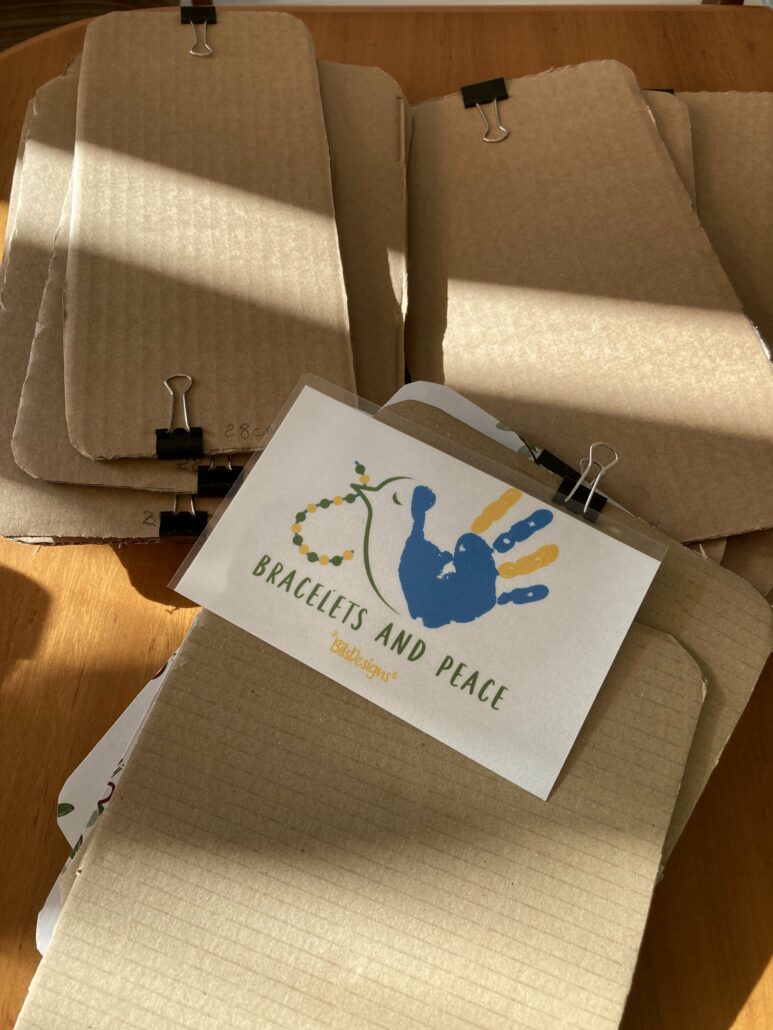
- Strong cardboard. The best cardboard is often from boxes that you buy electronic items in. It’s a bit tough to cut, but it lasts longer so it’s worth it!
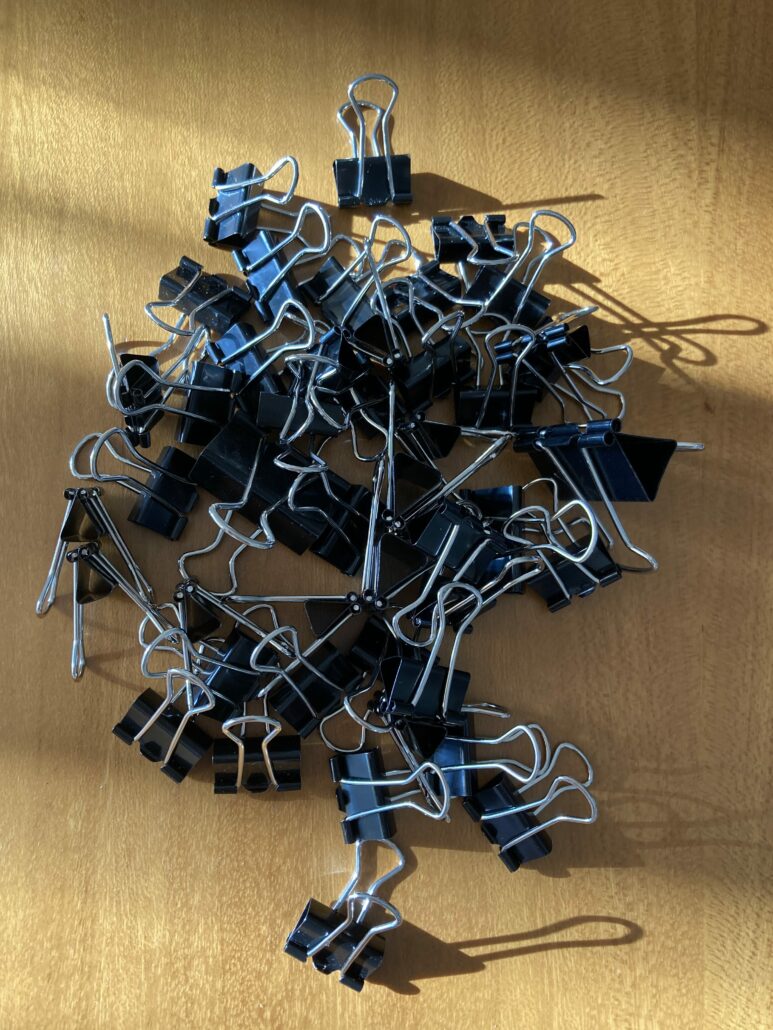
- Clips. You can buy these in packs from stationers and other shops. Usually, the smaller the clip, the cheaper it is.
Measurements
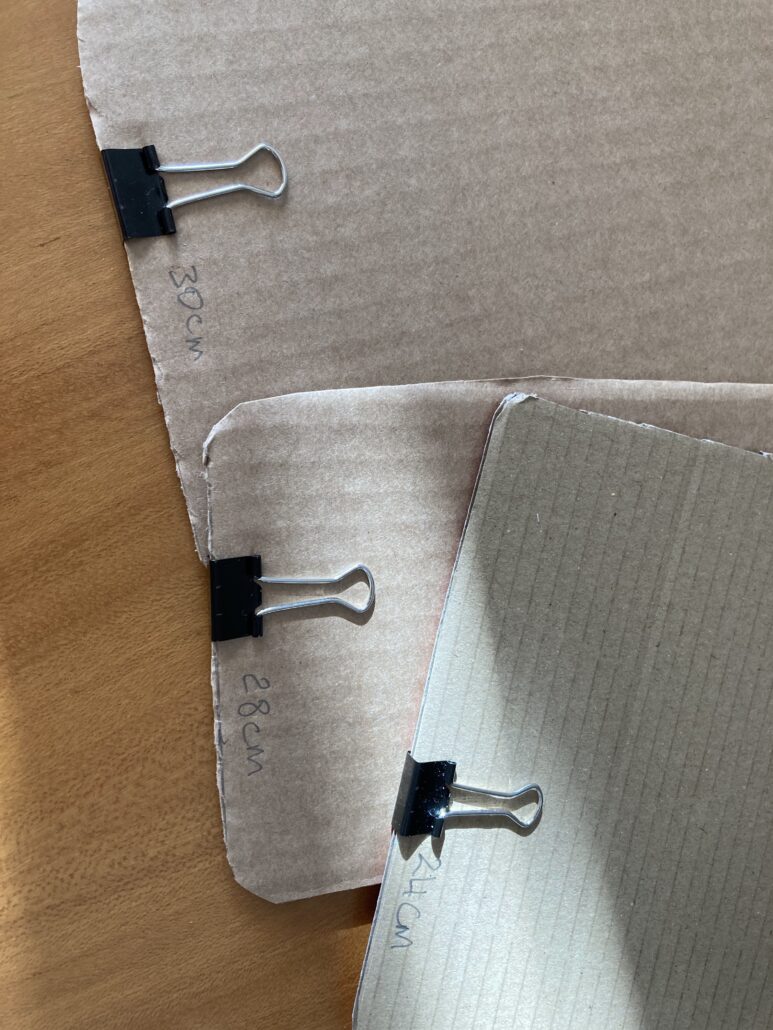
The size which seems to work best for us is 30 cm high X 22 cm wide.
But if you’re making boards for younger hands, then between 24 cm and 28 cm high works well and is more manageable for them.
Tips
- Write the length of your board at the bottom, then you can use it to measure your cords and bracelets!
- Make the corners round so that they don’t stick into your arms while you’re making your bracelets!
The clips
The clips should be neither huge or tiny ideally. It’s better if the top one is about 3 cm wide as it holds the top of the bracelet better. The bottom one can be smaller (e.g. 2 cm wide).
Once you’ve made the boards, you’re set to go! Making bracelets!!!


