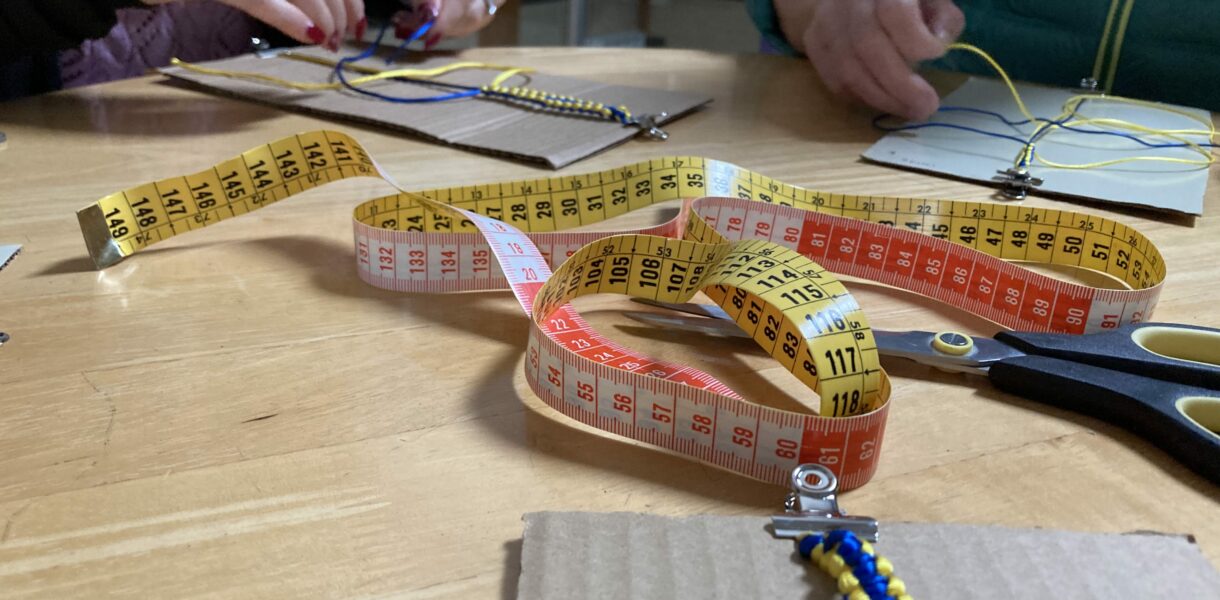
Bracelet making kits are useful things to have ready made and handy.
As more and more bracelet making is going on around the world (something here at Bracelets and Peace that we are absolutely delighted to see and hear about), we thought we’d share some tips for making bracelet making sessions run smoothly.
Homemade clipboards
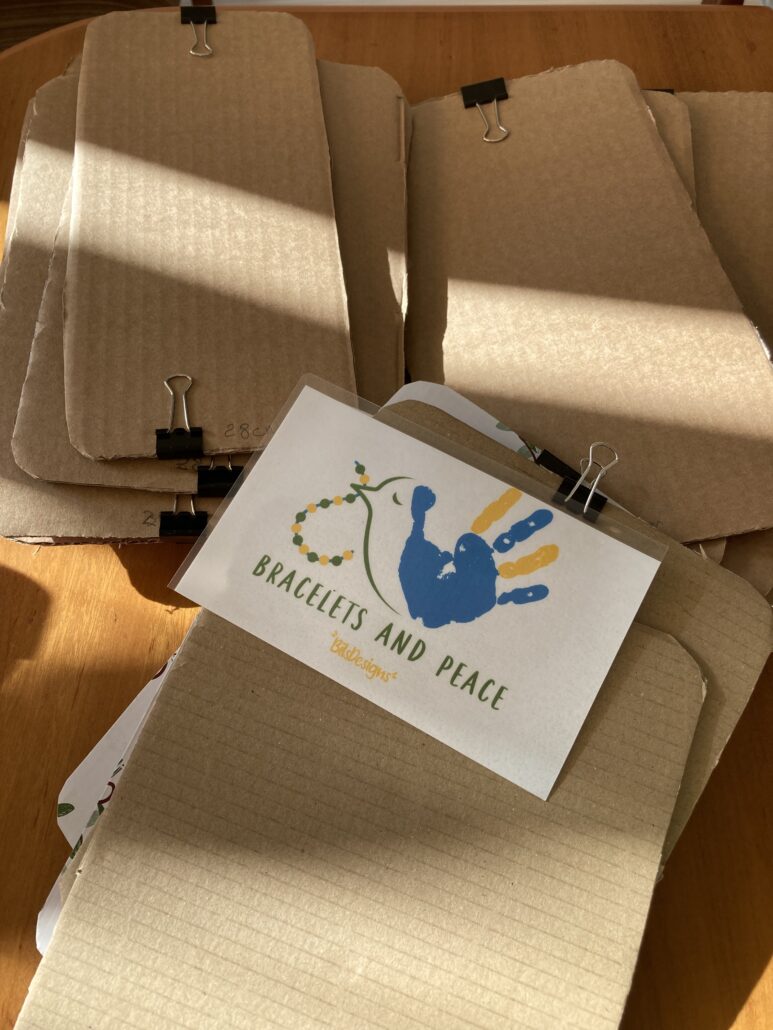
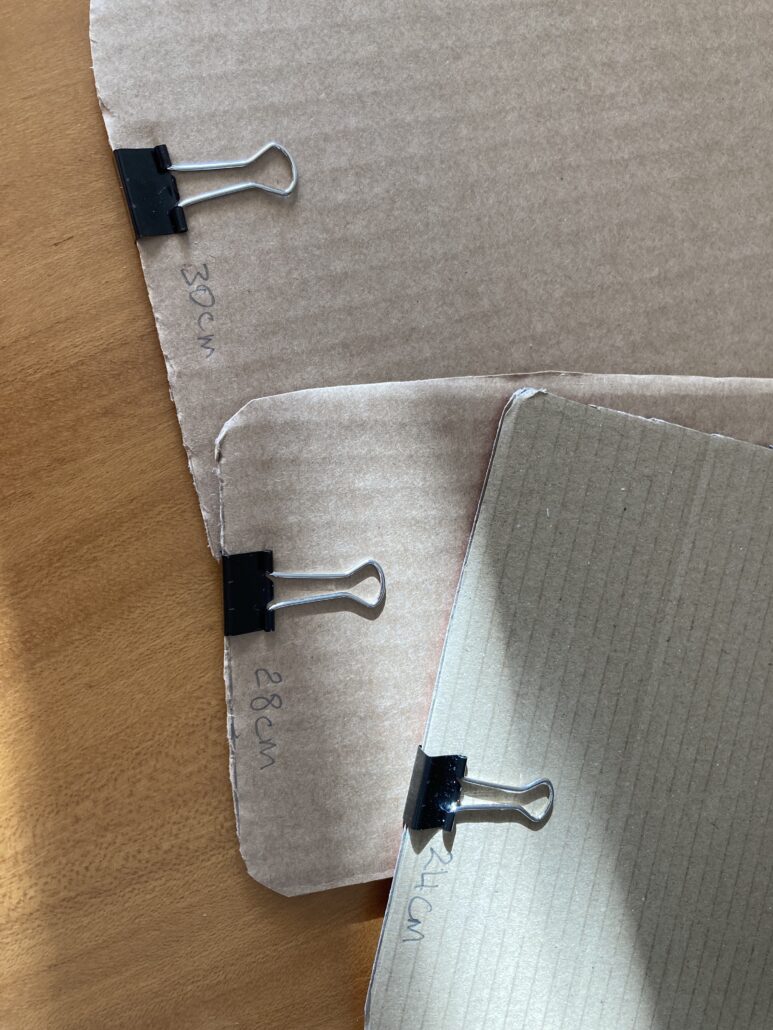
Although you can stick the top end of your bracelet to a table or tie it to a door, a clipboard really makes bracelet making easier. You can buy clipboards of course, but they can be quite expensive. So, recycle cardboard and save money!
What size?
- Use the strongest cardboard you can find. Thin cardboard will start to bend very quickly.
- We find that the best clipboards are 28-30 cm long and 16-20 cm wide.
- Write the length of the board at the bottom, then you can use it to measure cords and your bracelets.
- It’s a good idea to make the corners round. That way, they won’t stick into your arms or cut you.
The clips
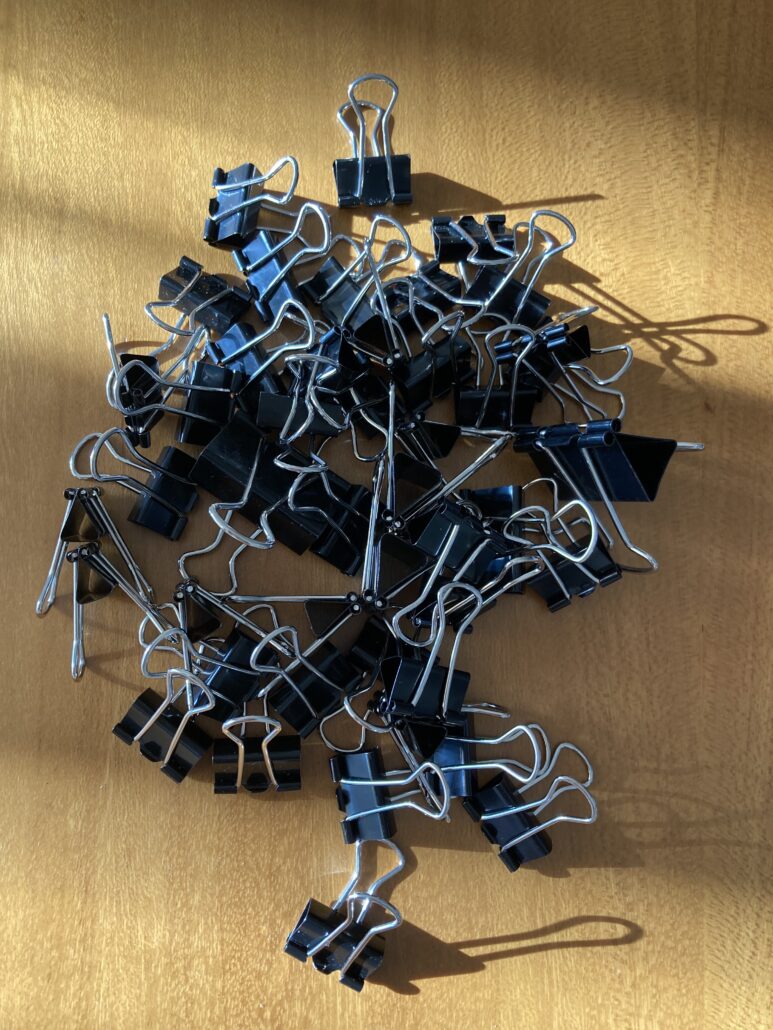
You can usually find clips for your boards in packs in stationery shops or departments. They’re quite cheap too.
Tip: Buy larger clips for the top of your boards and smaller ones at the bottom.
The cords
- Shop around for your cords. They can vary tremendously in price.
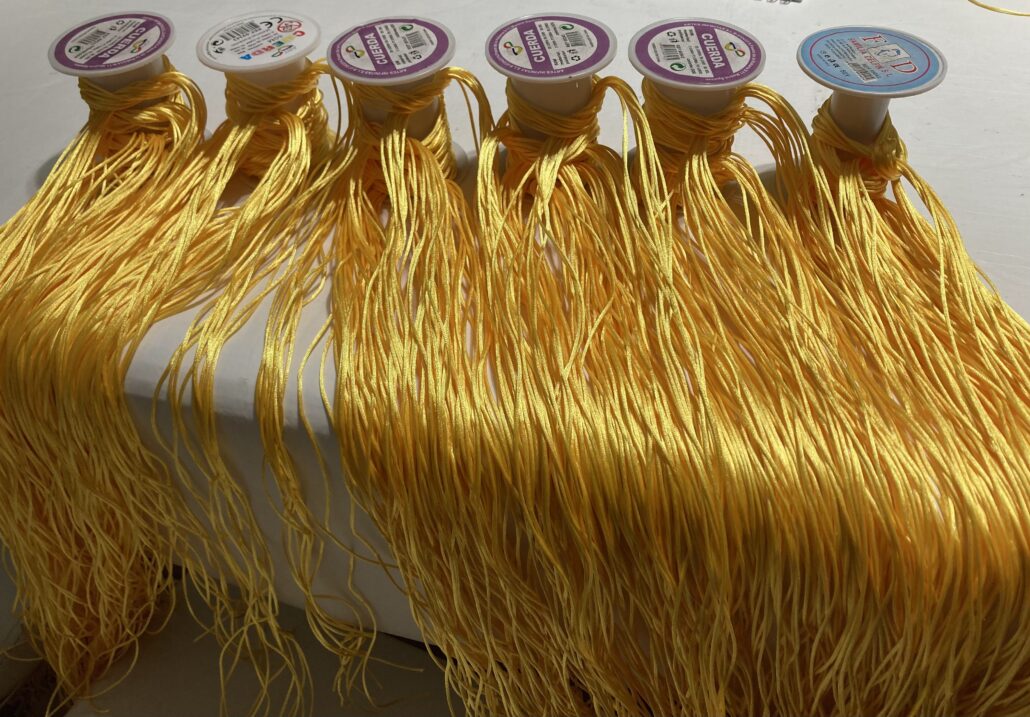
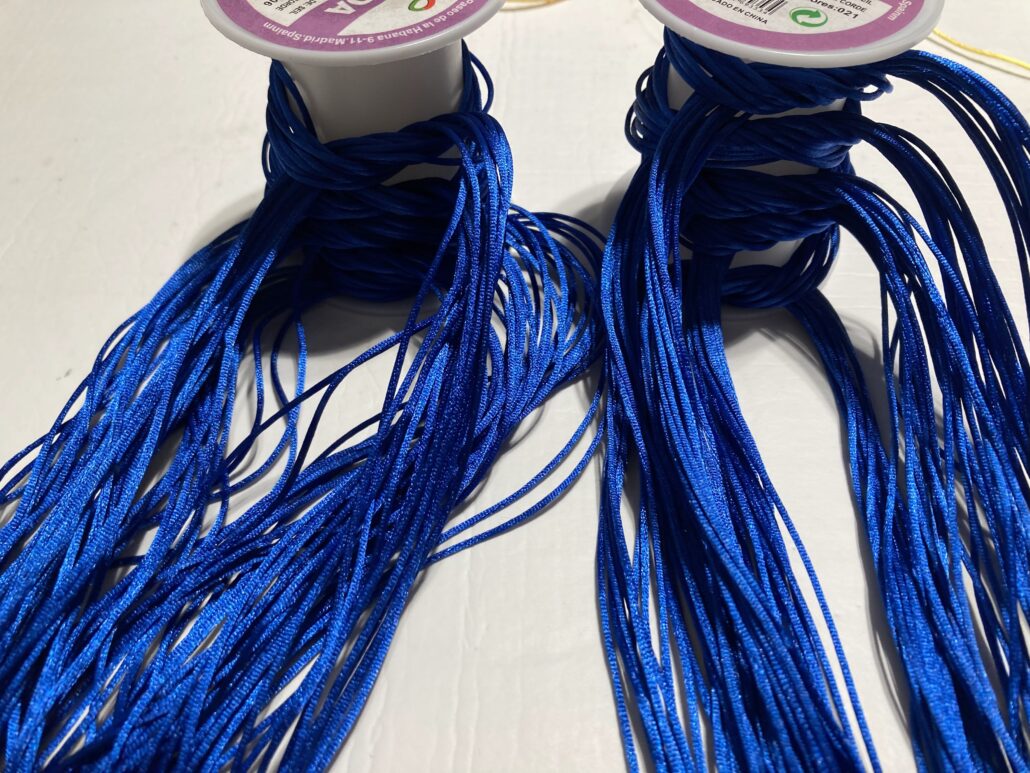
- With the rolls that we usually use, (50 m) you can make around 30-32 bracelets.
- A thinner cord will obviously make a thinner bracelet and with a thicker cord, the bracelet will be thicker.
- As you cut your cords, tie them in groups of 10 so that it’s easier to calculate how many lengths you’ve made.
- Use 130 cm for a wrist measuring up to 18 cm.*
- Cut 150 cm for bigger wrists.*
* Calculations based on making a Friendship Twine Bracelet as shown in our step by step images. Ana’s version of this bracelet uses more cords of shorter lengths.
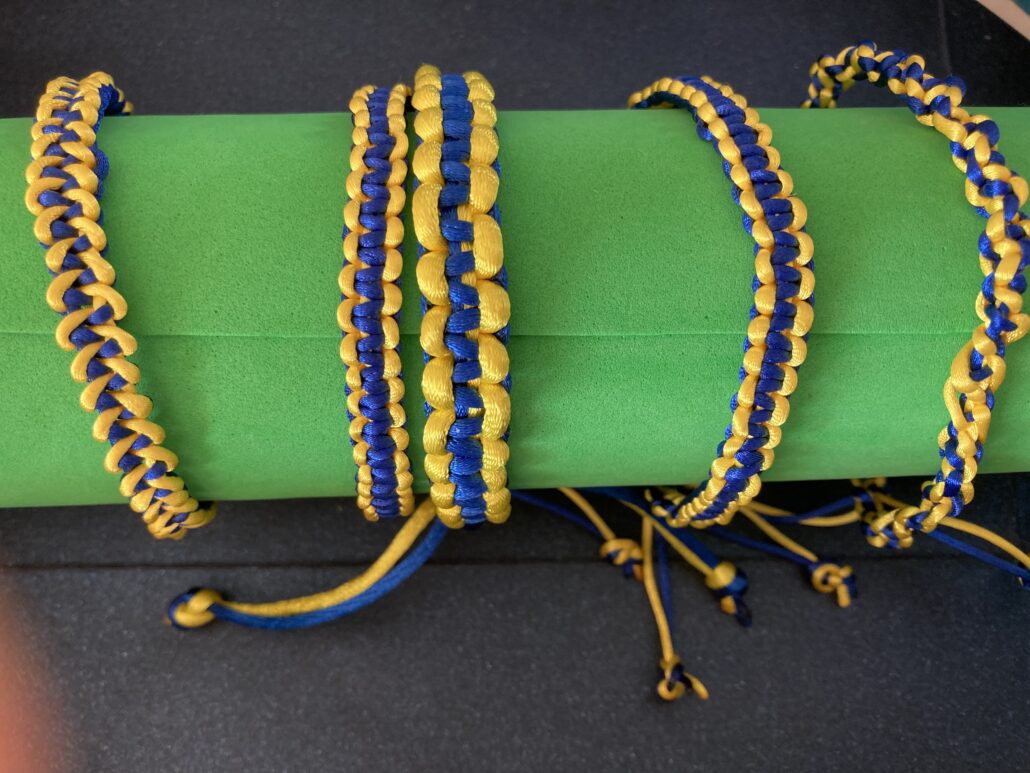
So, now you have your kit prepared, it’s time to get making bracelets! Enjoy! And send us photos and we’ll post them here!

